Step-by-Step Migration Process
04/09/2026
This page includes both host-centric and container-centric migration procedures to suit your specific infrastructure requirements. Ensure your deployment meets the necessary infrastructure prerequisites before beginning the migration process from PoolParty 9.7 to PoolParty 10.
This option is recommended for internal staging environments, local engineering setups, or servers with native Java installations and direct data path access.
Note
Direct migration from PoolParty 9.7.1 to Graph Modeling 10.2 is not supported due to Elasticsearch incompatibility. You must complete the migration to version 10.1 first. Referencing the compose files v0.1.0 tag at this stage is intentional, as it provides the exact environmental baseline required to transition your data to version 10.1 safely. Once your instance is successfully running on 10.1, the subsequent section in this guide will direct you to pull the latest version tag of the compose files to finalize your upgrade to Graph Modeling 10.2.
Stop PoolParty and Check for Running Processes: Stop the running PoolParty instance and verify that no Java processes related to PoolParty are still running.
Stop and Existing Docker Containers (if any): Navigate to the directory containing your
compose filesand execute the command:docker compose down
Download the Migration Tool: Download the migration ZIP file using the
wgetcommand (replace<VERSION>with the latest version of the migration tool):https://maven.ontotext.com/repository/poolparty-releases/biz/poolparty/poolparty-10-migration/<VERSION>/poolparty-10-migration-<VERSION>.zip wget https://maven.ontotext.com/repository/poolparty-releases/biz/poolparty/poolparty-10-migration/1.0/poolparty-10-migration-<VERSION>.zip
See the Prerequisites section for resources.
Unzip the Migration Tool: use the
unzipcommand followed by the ZIP file name. This will create a directory namedpoolparty-10-migration-<VERSION>.Move the Migration JAR File: Navigate into the newly created directory and move the JAR file into the
/optdirectory:mv poolparty-10-migration-<VERSION>/poolparty-10-migration-<VERSION>.jar /opt
Confirm that the tool is now in the correct folder.
Download PoolParty Compose Files: Navigate to the
/optdirectory and download the v0.1.0 of the compose files from the GitHub repository:wget https://github.com/poolparty-semantic-suite/compose-files/archive/refs/tags/v0.1.0.zip
Unzip and Rename Compose Files: Renaming the extracted folder will make it easier to manage at a later step.
unzip v0.1.0.zip
mv compose-files-0.1.0 compose-files
Configure the .env File: Navigate to the
compose-filesdirectory. Rename the template environment file and open it to update theSERVER_NAMEkey fromlocalhostto the actual host name. Then add the path of your old PoolParty directory toPOOLPARTY_9_DIRif it is not/opt/poolparty:cd compose-files mv .env_template .env vi .env
...
SERVER_NAME=<your-server-name>
...
POOLPARTY_9_DIR=<old/poolparty/path>
...
Handle Licenses: Obtain the necessary GraphDB and PoolParty license files from your customer success manager and put them in a newly created license directory.
mkdir /opt/licenses
cd /opt/licenses
Rename GraphDB and PoolParty license files as follows:
graphdb.licensepoolparty.key
Update the license path inside of the
.envfile and confirm that they are correct:GRAPHDB_LICENSE_PATH=/opt/licenses/graphdb.license POOLPARTY_LICENSE_PATH=/opt/licenses/poolparty.key
Verify Configuration URLs: Navigate to the old PoolParty configuration directory and open the
poolparty.propertiesfile located at/opt/poolparty/config. Compare the following four URL properties with their corresponding values in the.envfile and confirm that they are identical:_POOLPARTY_URL_BASE_SCHEME: should be the same URL asurl.base.schemein the old configuration file._POOLPARTY_URL_BASE_VOCABULARY: should be the same URL asurl.base.vocabularyin the old configuration file._POOLPARTY_URL_BASE_USER: should be the same URL asurl.base.userin the old configuration file._POOLPARTY_URL_BASE_CONTEXT: should be the same URL asurl.base.contextin the old configuration file.
Start Migration Containers: Navigate back to the
compose-filesdirectory and start the temporary containers for migration:cd /opt/compose-files docker compose -f docker-compose.yaml -f migration.yaml up -d
Execute Migration: Depending on your environment, access the terminal from the correct context and then run commands directly from the host terminal inside
/opt/compose-filesfor internal servers, or open the container's root shell for customer servers:docker compose -f docker-compose.yaml -f migration.yaml exec --user root -it poolparty bash
Before moving any data, execute a simulation to validate your paths and database connectivity by running the migration tool with the
--dry-runflag (replace<VERSION>with the latest migration tool version):java -jar /opt/poolparty-10-migration-<VERSION>.jar --dry-run \ --gdb-url http://<graphdb-server-url>:7200 \ "/opt/poolparty" "/opt/poolparty10"
If this simulation or the final migration fails due to data conflicts, reset GraphDB either by navigating to the UI (
http://<graphdb-server-url>:7200> Repositories) to manually delete all running repositories, or by purging the container and its volume entirely via the host terminal:docker compose down docker volume rm compose-files_graphdb_data docker compose up -d
Once the environment is clean, execute the actual migration command below, adjusting the placeholder paths
/opt/poolparty(PP9 source data) and/opt/poolparty10(PP10 target data) to match your server's exact layout. Ignore any non-critical errors until the final line confirms "migration completed successfully."java -jar /opt/poolparty-10-migration-<VERSION>.jar "/opt/poolparty" "/opt/poolparty10" \ --gdb-url http://<server-url>:7200 \ --skip-remote \ --env-file /opt/env_migrated
Update .env file with Migrated Data: The migrated data is saved in the
/opt/env_migratedfile. Copy the entire content of this file and open the.envfile in thecompose-filesdirectory and paste the data at the end. Then update the URLs for Keycloak and Indexing in the newly copied data:POOLPARTY_KEYCLOAK_AUTHURL=http://<server-url>/auth POOLPARTY_INDEX_URL=http://elasticsearch:9200
Remove the following properties in the
.envfile by commenting them out:# Client secret for POOLPARTY_KEYCLOAK_LOGIN_CLIENTID. Mandatory for requesting tokens. #POOLPARTY_KEYCLOAK_LOGIN_CLIENTSECRET=... #POOLPARTY_KEYCLOAK_ADMIN_CLIENTID=... #POOLPARTY_KEYCLOAK_ADMIN_USERNAME=... #POOLPARTY_KEYCLOAK_ADMIN_PASSWORD=... #POOLPARTY_SUPER_ADMIN_PASSWORD=... # The POOLPARTY_INDEX_* properties define the type, address, authentication for the index subsystem in PoolParty. #POOLPARTY_INDEX_TYPE=... #POOLPARTY_INDEX_URL=... #POOLPARTY_GRAPHDB_URL=... # The address of an external Apache Spark service. #POOLPARTY_SPARK_ADDRESS=...
Migrate Elasticsearch Data: Verify if the target directory /usr/share/elasticsearch/data exists on your host file system, create it if it is missing, and then copy the legacy data index files from your old installation before reassigning container user execution permissions by running the following commands:
mkdir -p /usr/share/elasticsearch/data
cp -r /opt/poolparty/data/elasticsearch/. /usr/share/elasticsearch/data/
chown -R 1000:root /usr/share/elasticsearch/data
Migrate Keycloak Data: Create the target Keycloak data directory on your host machine, copy the data from your old installation, and adjust permissions using the commands below. Note that if the Keycloak container fails to recognize the
poolpartyrealm because it prioritizes its internal Docker volume over the host path, you must execute the fallback command to copy the H2 database directly into the volume data directory before restarting the stack:# Core Data Migration mkdir -p /opt/keycloak/data cp -r /opt/poolparty/auth_service/keycloak/data/. /opt/keycloak/data/ chown -R 1000:root /opt/keycloak/ # Volume Fallback (Execute ONLY if the poolparty realm is missing on stack startup) cp -f /opt/keycloak/data/h2/keycloakdb.mv.db /opt/docker-data/volumes/compose-files_keycloak_data/_data/h2/keycloakdb.mv.db docker compose down && docker compose up -d
Stop Migration Containers: Stop the running containers in the
/opt/compose-filesdirectory:docker compose -f docker-compose.yaml -f migration.yaml down
Modify docker-compose.yaml: Open the
docker-compose.yamlfile in thecompose-filesdirectory and modify the following service blocks:Keycloak Modification: In the Keycloak service section, comment out the line related to importing a realm (
#- --import-realm) to prevent creating a new realm:keycloak: image: ontotext/poolparty-keycloak:2.3.0 environment: KC_PROXY_HEADERS: KC_HTTP_ENABLED: KC_HTTP_RELATIVE_PATH: KC_HOSTNAME: KC_HOSTNAME_BACKCHANNEL_DYNAMIC: KEYCLOAK_ADMIN: KEYCLOAK_ADMIN_PASSWORD: POOLPARTY_SUPER_ADMIN_PASSWORD: POOLPARTY_KEYCLOAK_LOGIN_CLIENTSECRET: ports: - "9000:9000" - "8080:8080" volumes: - keycloak_data:/opt/keycloak/data command: - start-dev # - --import-realmPoolParty Modification: Verify that the
poolpartyservice volume mount explicitly maps to your new target PoolParty 10 data directory path (for example,poolparty_data:/opt/poolparty10), and if you are deploying the stack on a Windows host machine, ensure you comment out theextra_hostsblock inside the PoolParty service block before saving and closing the file to prevent internal network routing conflicts.
Start PoolParty 10: Start the final PoolParty 10 containers within the
/opt/compose-filesdirectory:docker compose up -d
Access PoolParty 10:
PoolParty Server URL:
http://<server-url>:8081/PoolPartyKeycloak Server URL:
http://<server-url>:8080/auth
Confirm that all data, groups, and users have been migrated to the new PoolParty 10 instance.
Project Migration from version 9.7 to 10.1: Navigate a web browser to
http://<server-url>/PoolParty/!/migrate/upgradeto access the manual migration script utility, and click Start Migration on the dialog that appears to transition all existing projects to PoolParty layout application version 10.1.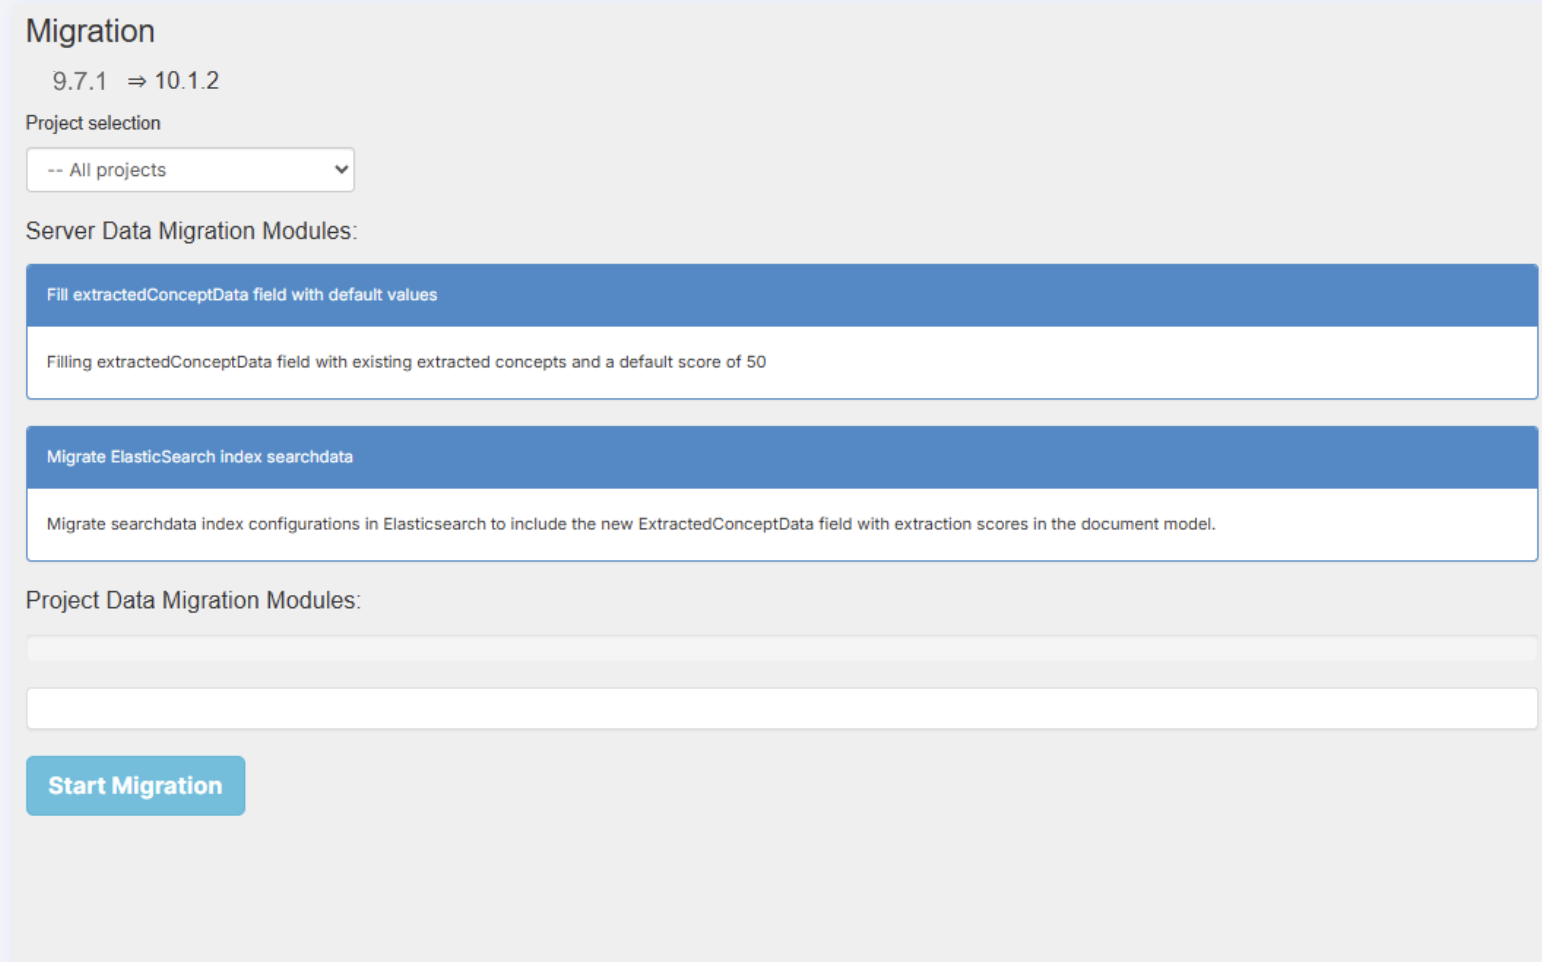
After completion verify whether all projects have been successfully migrated.
Elasticsearch Migration: Follow the steps described in Elasticsearch Upgrade Guide to upgrade your Elasticsearch version.
Bring down your active environment deployment by executing
docker compose down, download and extract the latest verified repository tag from GitHub into your orchestration folder, and replace your old configuration file with the newdocker-compose.yaml(which contains the updated images for PoolParty, Elasticsearch, Keycloak, and GraphDB) by running the commands below.Inside this new file, ensure you comment out the
--import-realmline under the Keycloak settings and verify that the poolparty service volume explicitly targets your intended persistent directory path (poolparty_data:/opt/poolparty10) before saving your modifications and launching the stack to finalize the upgrade:# Shut down the active instance and download the latest configuration templates docker compose down cd /opt # Replace <LATEST_TAG> with the most recent version tag (e.g., v1.0.0) wget https://github.com/poolparty-semantic-suite/compose-files/archive/refs/tags/<LATEST_TAG>.zip unzip <LATEST_TAG>.zip # Backup your previous configuration and copy the updated orchestration file mv /opt/compose-files/docker-compose.yaml /opt/compose-files/docker-compose.yaml.bak cp /opt/compose-files-<LATEST_TAG>/docker-compose.yaml /opt/compose-files/docker-compose.yaml # Open the file to comment out '--import-realm' and verify the data volume mapping vi /opt/compose-files/docker-compose.yaml # Pull the fresh image layers and bring the upgraded cluster online docker compose up -d
Project Migration from version 10.1 to 10.2: Once your server is successfully running login to your Graph Modeling instance. Navigate a web browser to
http://<server-url>/PoolParty/!/migrate/upgradeto access the manual migration script utility, and click Start Migration on the dialog that appears to transition all existing projects to the Graph Modeling (formerly PoolParty) application layout version 10.2.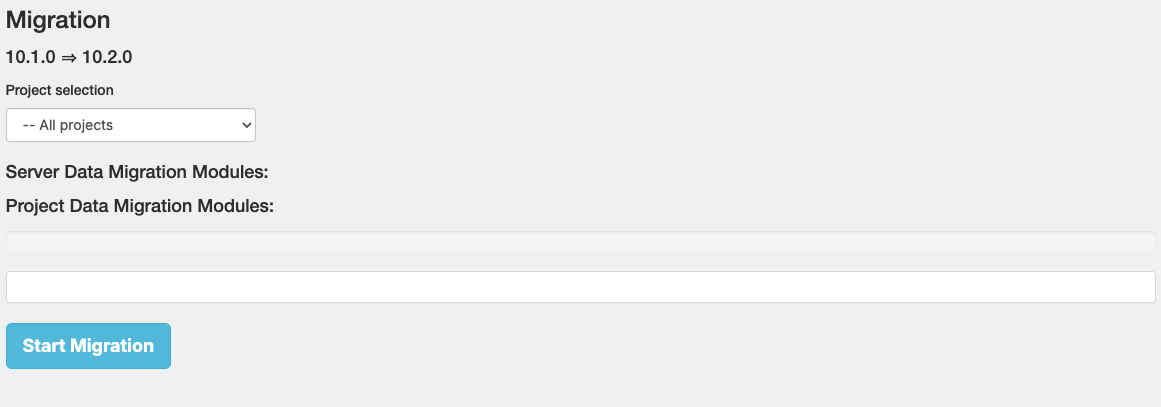
After completion verify whether all projects have been successfully migrated.